Tips for papering ceilings
Before you start, be sure to protect the surroundings using plastic film and/or newspaper. Always start parallel to the incidence of light; that is, lengthwise away from the window. This will help you ensure that no shadows are formed by the joins. Depending on which type of paper you are using, you will either need to apply paste to the paper or the ceiling.
To ensure precision, you can draw guide lines on the ceiling. A chalk line can help you maintain a straight line. With the help of a broom, the first (pasted) strip is pressed onto the ceiling along the marked line. You can then use the palms of your hands to smooth it down. Any leaking paste should be wiped off immediately with a damp cloth. Click here for detailed instructions on hanging non-woven wallpaper.
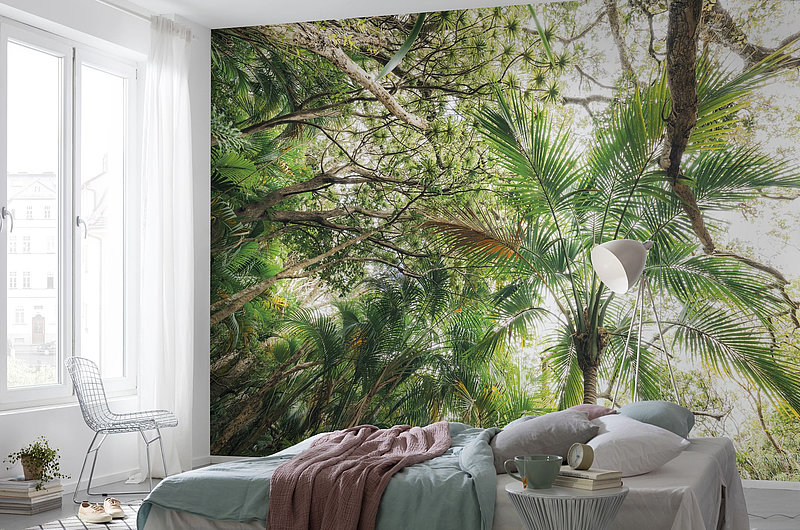
Papering a ceiling requires courage because it is often difficult to picture the end result and many will wonder whether a papered ceiling might optically overwhelm a room. Admittedly, not every design is suitable for the ceiling. It depends on the room height, the size and the paper itself.
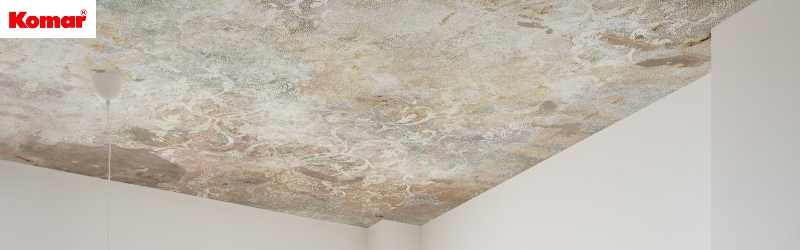
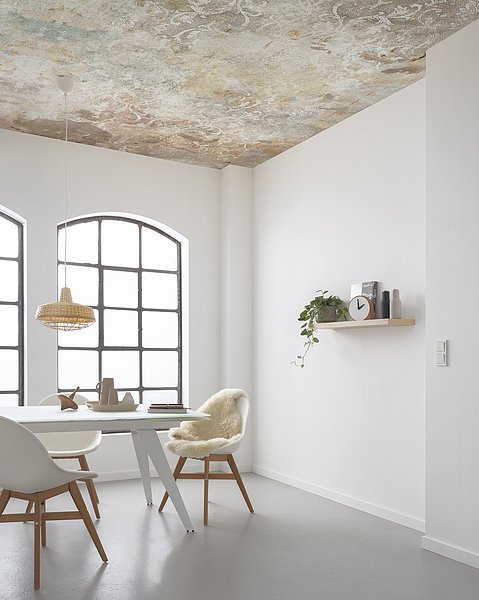
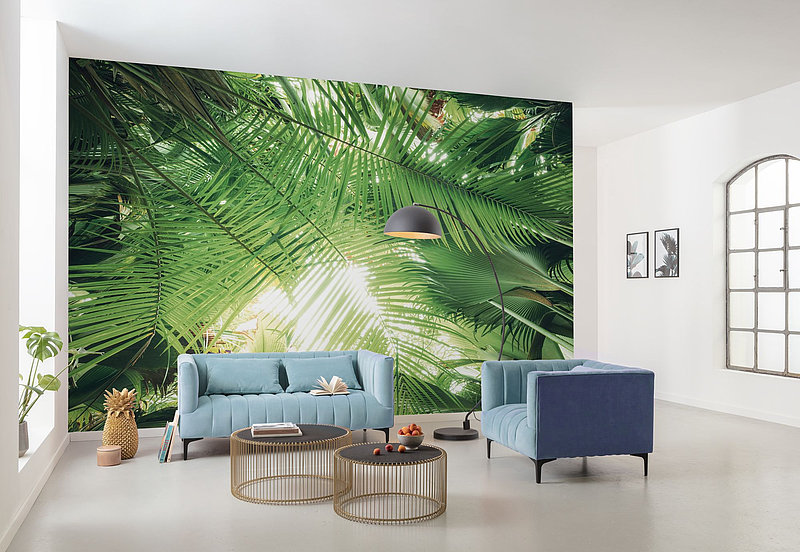
The perfect paper for ceiling decoration
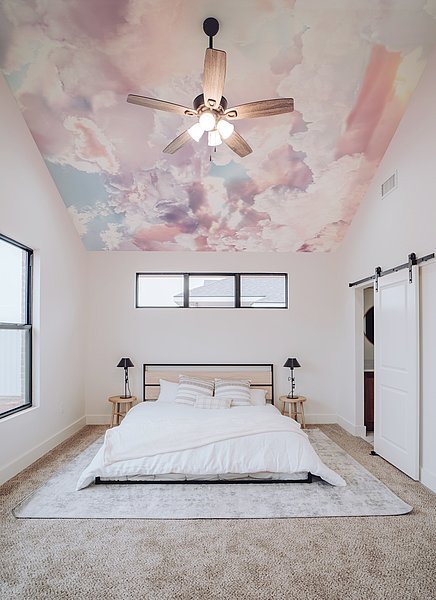
Old buildings are generally well suited because they usually have higher ceilings. But sloping ceilings also make a good surface. While a structured mural can be ideal in large, high-ceilinged rooms, small rooms should definitely have a light and airy motif. A cloudy sky as a ceiling motif will make a room appear larger and create the illusion of an open roof. A great effect. Click here to go to the cloud murals. For bold interior designers, striped paper can be a stylish choice. However, caution is advised here. 3D effects or bright colours should be avoided as the striped design could be too overpowering.
A daring undertaking that can look stunning if well executed. And let’s face it, who wouldn’t want to lie in bed looking straight up at a pink cloudy sky?