

With the right wallpapering tools, the work is easier and more fun - and the end result will also impress you.
In this article, we will therefore show you which tools you need and what you need them for.
Wallpapering tool for substrate preparation
Let's start with the wallpapering tool for the first step - surface preparation. If there is already wallpaper on the wall, it must first be removed. Depending on the type of wallpaper, it may be a little easier or a little more difficult to remove. Paper wallpaper, for example, requires a paint scraper. If there are damaged areas and holes in the wall plaster, the areas can also be filled directly with this tool. Many people use soapy water to remove old paper wallpaper. A spray bottle can be useful here. However, a simple surfactant solution is not always helpful. Some wallpapers simply won't come off the wall and in these cases the hedgehog roller is a useful tool.
It is usually possible to remove quality non-woven wallpaper without a paint scraper - the Photomural is simply peeled off dry.
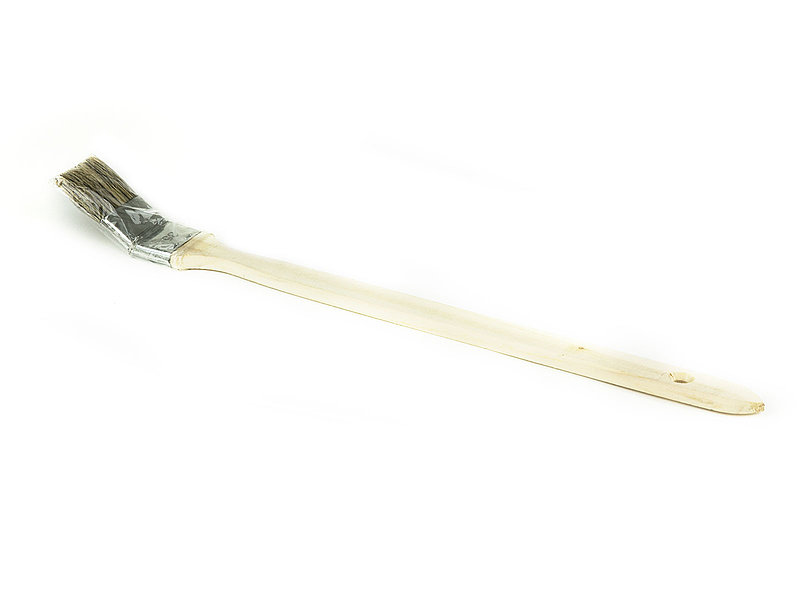
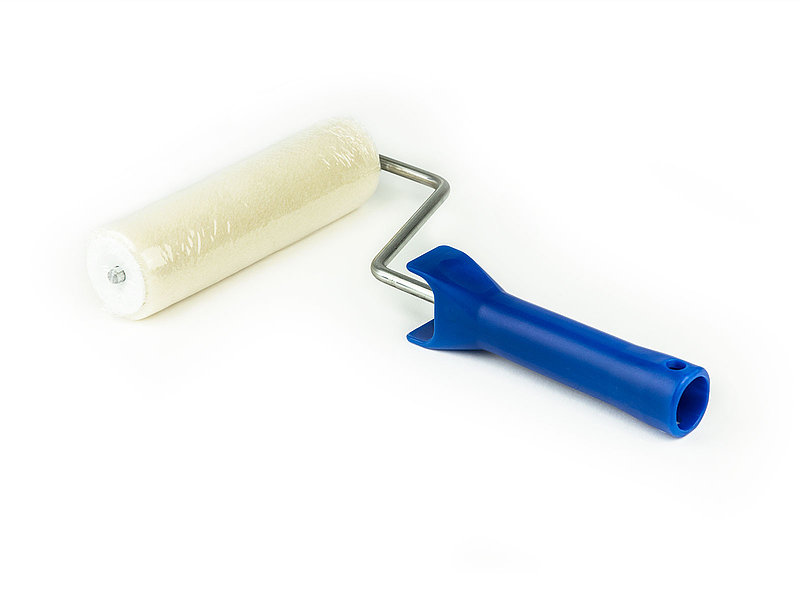
After removing the old Photomural, a smoothing plane and sandpaper are suitable for smoothing the walls. These wallpapering tools can also be used to easily remove larger noses in the plaster. To clean the walls after sanding, it is best to use a broom with soft bristles. If you want to apply a primer before wallpapering, you will also need a paint roller or a wide primer brush.
Wallpapering tool for pasting wallpaper (for paper wallpapers)
Now it's the turn of the wall coverings: the Photomurals need to be cut and pasted. A sturdy wallpapering table is an extremely helpful wallpapering tool here. Modern wallpapering tables are made of aluminium, making them light and easy to handle. Particularly practical: three-part wallpapering tables that can be folded and stowed away. It would be perfect for back health if the wallpapering table is height-adjustable. Many wallpapering tables also have a scale on the edge of the table so that you don't have to fiddle with a folding rule and tape measure.
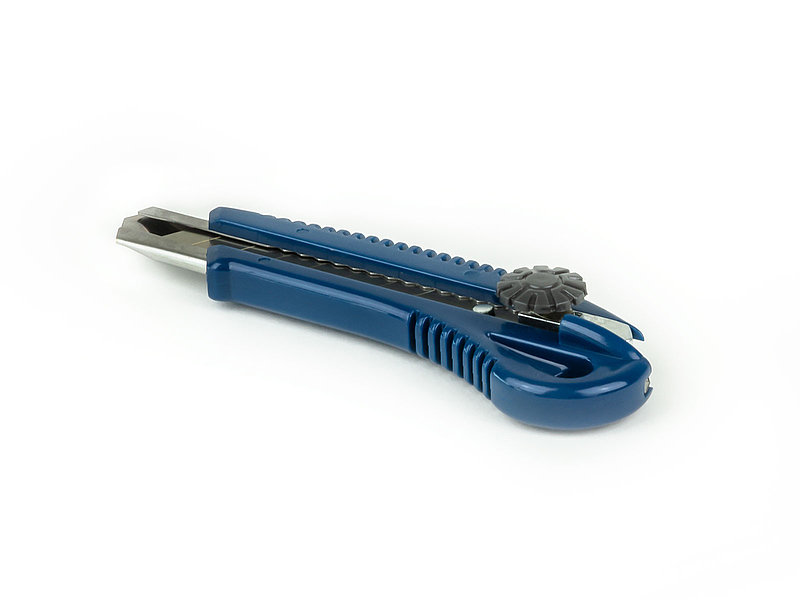
Tools are also required for cutting the wall coverings to size: A sharp wallpapering knife is best for this - alternatively, wallpaper scissors, a cutter knife or a wallpaper stripper can also be used. Now the wallpaper panels need to be treated with paste. A wallpaper brush is very useful here. A bucket and a stirring stick are needed to mix the paste.
Wallpapering tool for applying Photomural
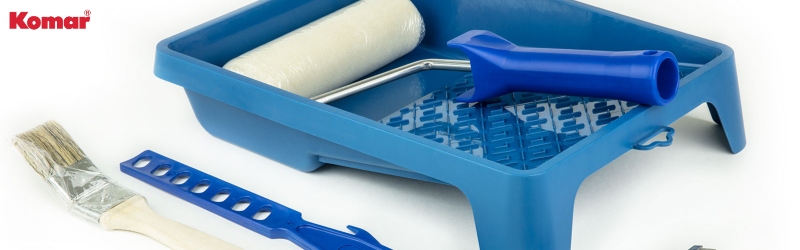
Finally, the Photomural must be applied to the wall - here too, wallpapering tools are required. A spirit level is helpful for applying the strips straight. Depending on the type of wallpaper selected, a wallpapering roller or wallpapering brush should always be used to press the wallpaper into place. A seam roller ensures that the edges hold well. A wallpapering spatula can also be used to press on the wallpaper - and can also serve as a guide rail for the cutter knife, which is needed to cut off the excess Photomural. A sponge or damp cloth should also be available to remove any adhesive residue. Tip: It is best to use a light-coloured sponge for light-coloured Photomurals. This will leave no visible residue on the Photomural.
Tools for wallpapering non-woven wallpaper
Do you need different tools for woodchip wallpapering than for non-woven wallpaper? In principle, the same tools can be used when wallpapering non-woven wallpaper - some wallpapering tools can even be dispensed with. Non-woven wallpapers are applied using the wall pasting technique and do not need to be pasted. The non-woven wallpaper paste is applied directly to the wall using a paint roller. Make sure you use an adhesive suitable for non-woven wallpaper. Quality non-woven wallpaper can be removed without a paint scraper - the Photomural is simply peeled off dry. This means you don't need any tools to remove the Photomural.